My Gran captured my Heart
 You might remember her from her “Remarkable Fudge” recipe.
I was truly blessed to have had so much time with her through my formative years.
Aside from my parents, my Gran was the person who listened
and gave the confidential and heart-felt advice I needed.
I realize now what a gift that was.
She was the ultimate combination of family and friend.
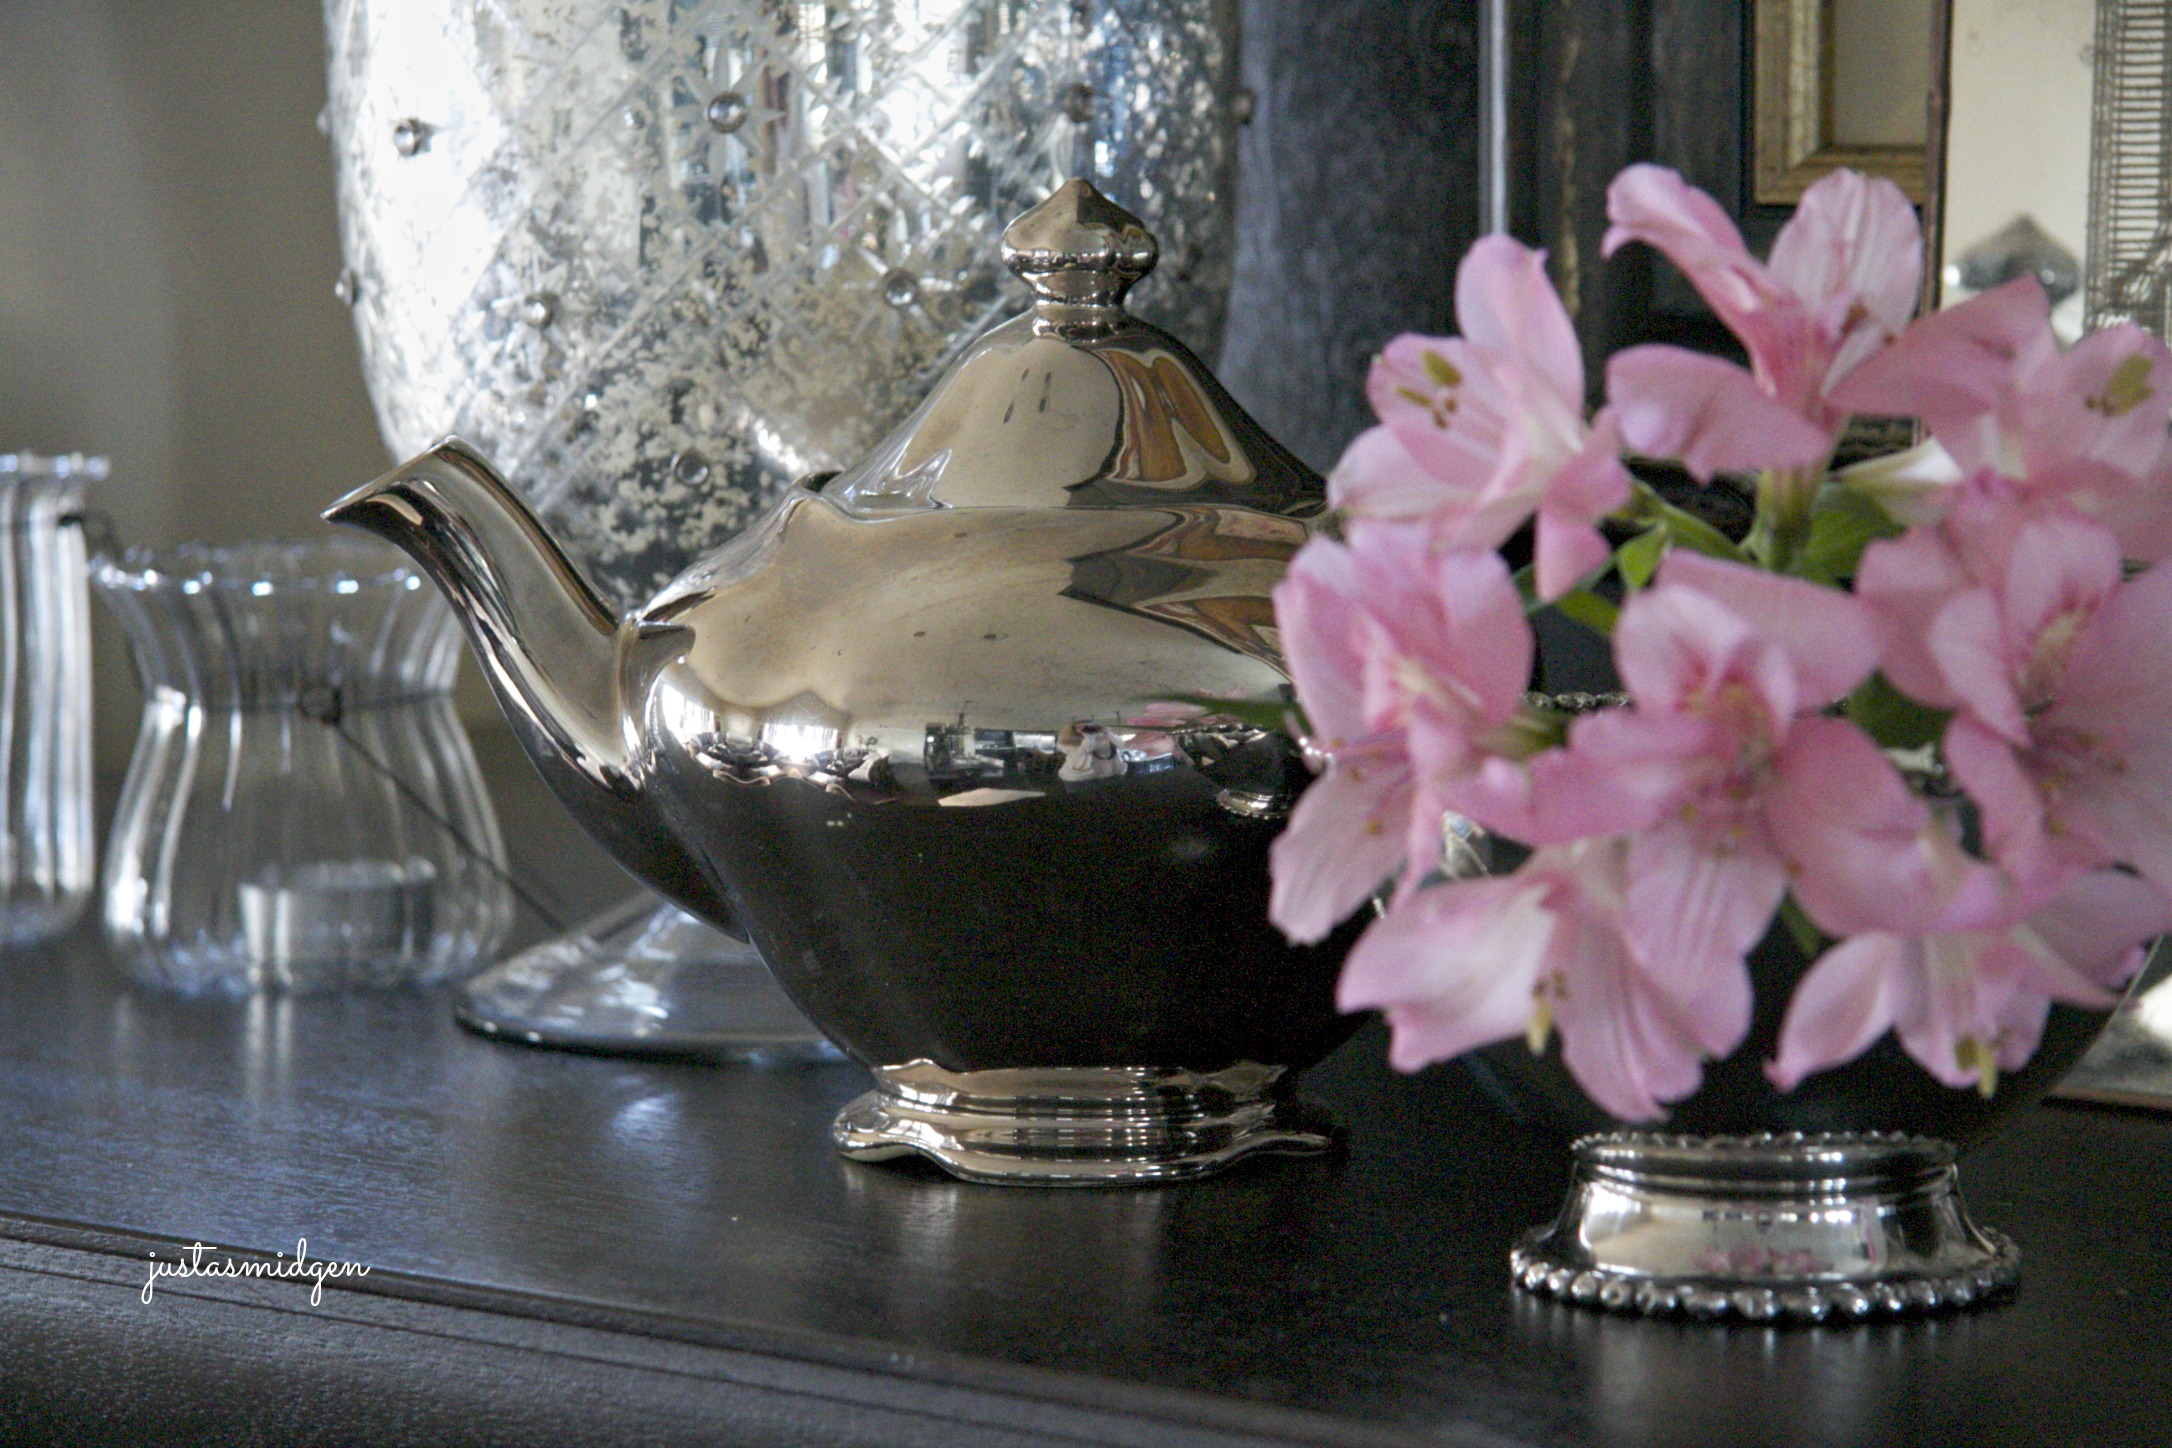
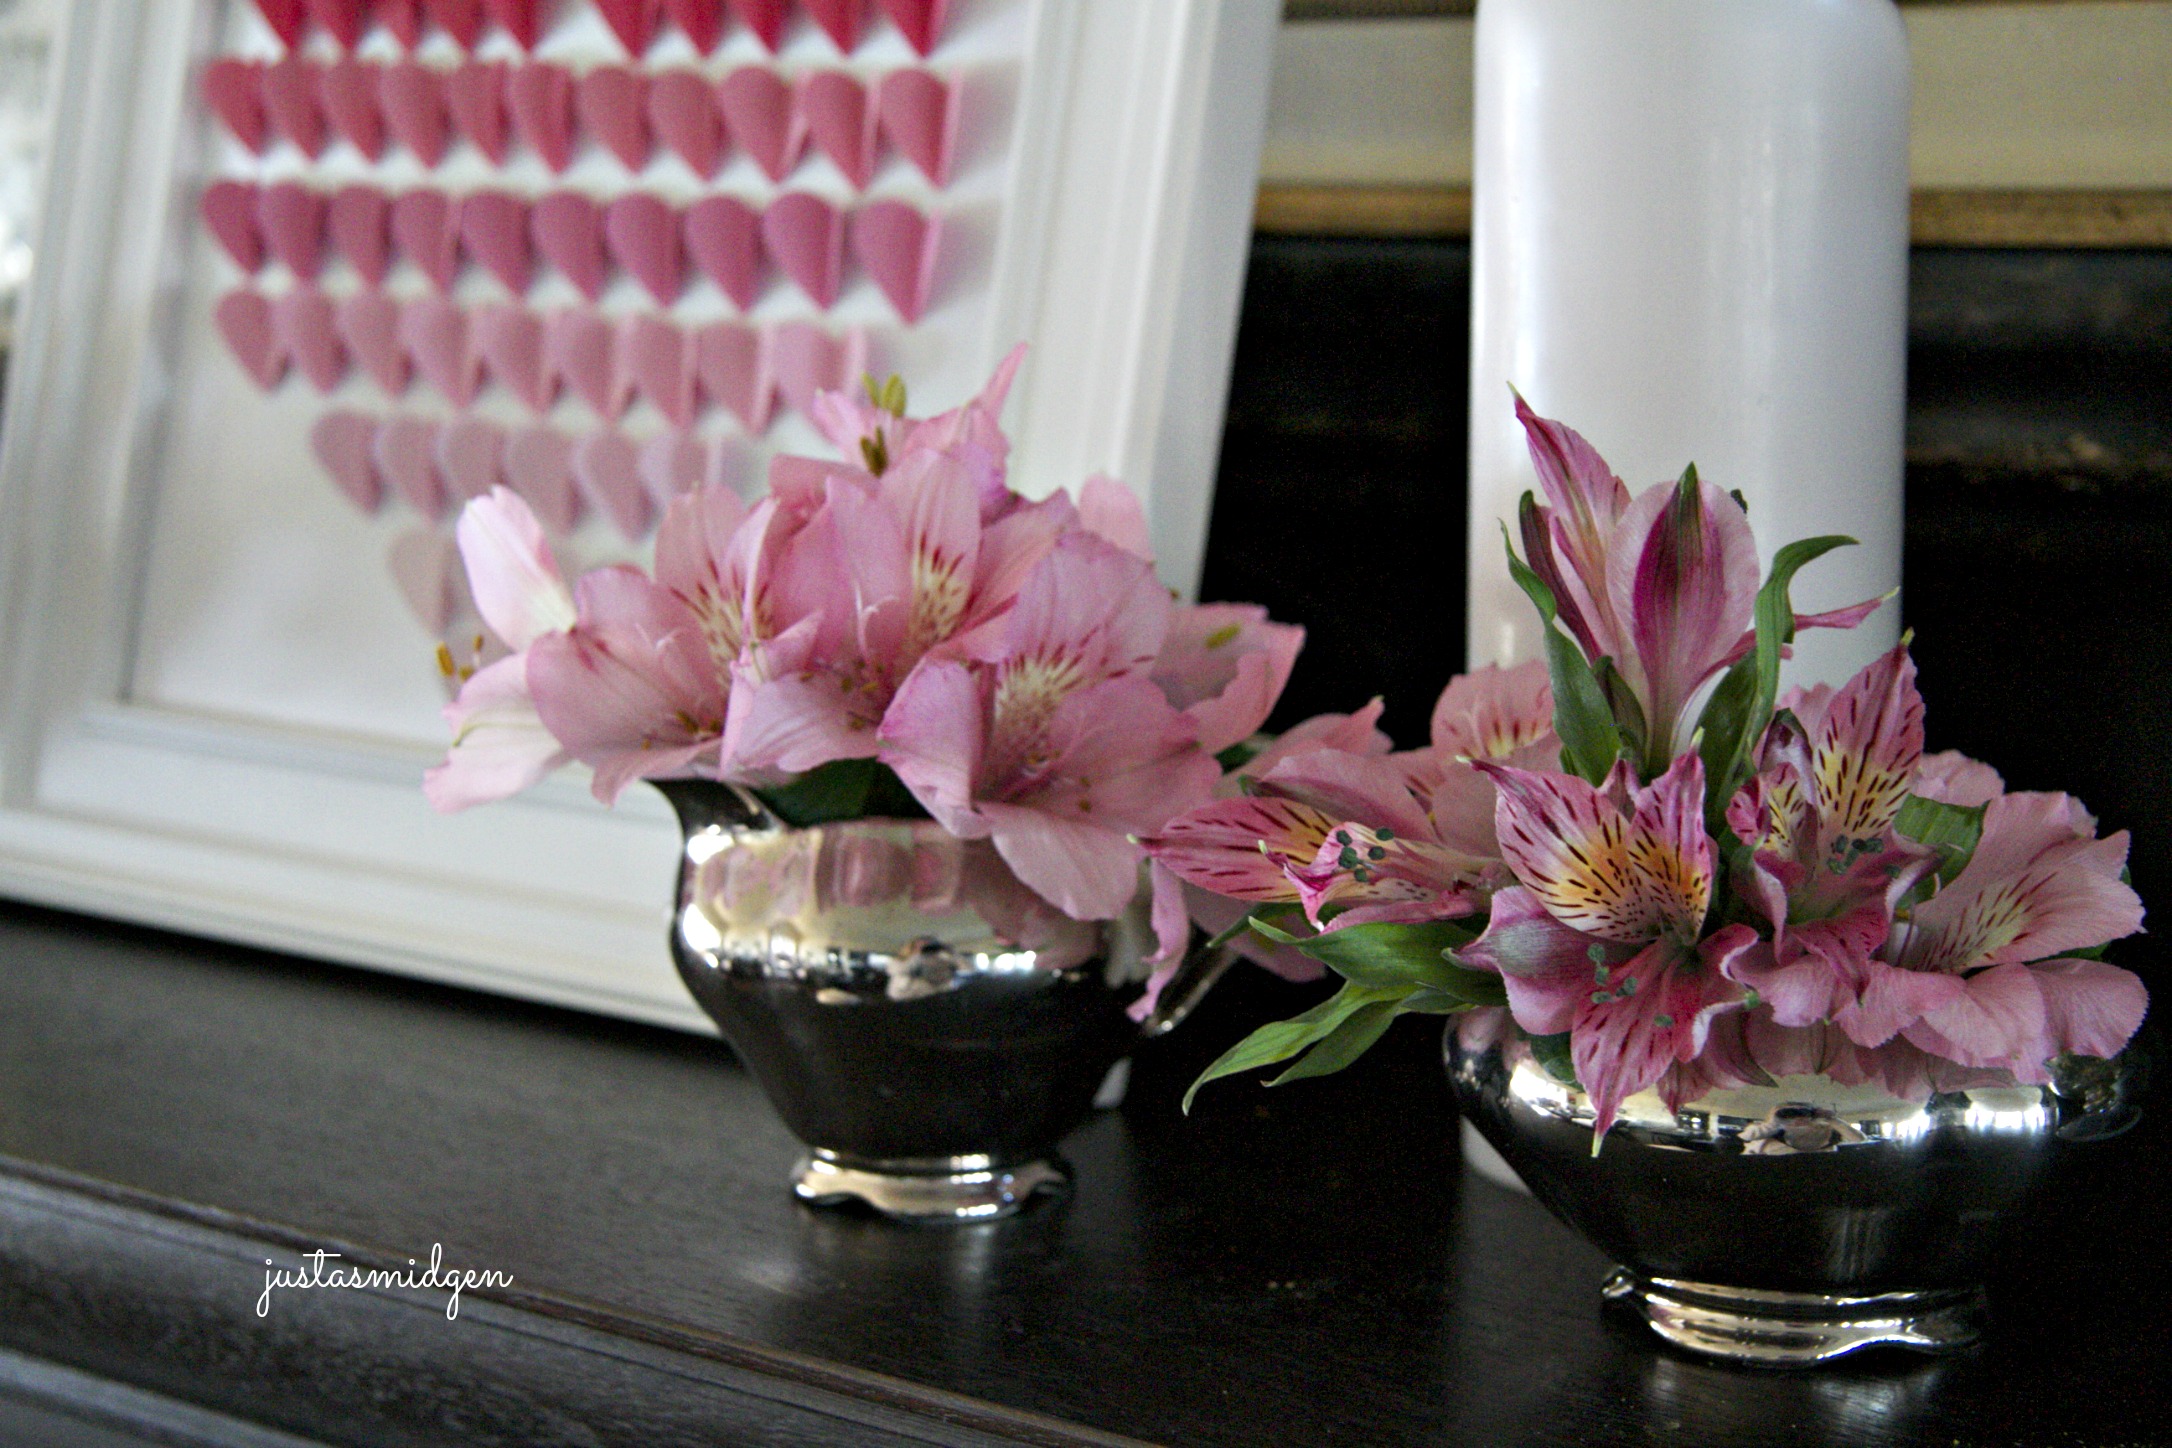
It was through her that I acquired this silvery china teapot, cream and sugar set.
Of course, I had tucked them away, in a very “special place”, so the pieces would be safe.
Until this week, when I remembered them and realized that they should be on display..
where I can see them and remember my Gran every single day.
 As a young woman, I had a very casual conversation with my Gran,
she told me her best friend had given her a wonderful idea..
she’d gone through her house, writing little notes,
popping them inside her collection of china pieces.
Those notes, Gran said, would tell everyone which of these items
would be theirs when she passed on one day.
Being naïve.. I thought that would never, could never happen..
not to my Gran because.. well, I loved her too much.
Inside this little teapot is a note, in her slanted, angular handwriting,
telling me that this teapot, cream and sugar set were given
to her grandparents on the occasion of their 50th wedding anniversary.
That note.. and my heart…
are still tucked inside.
 ♥
♥
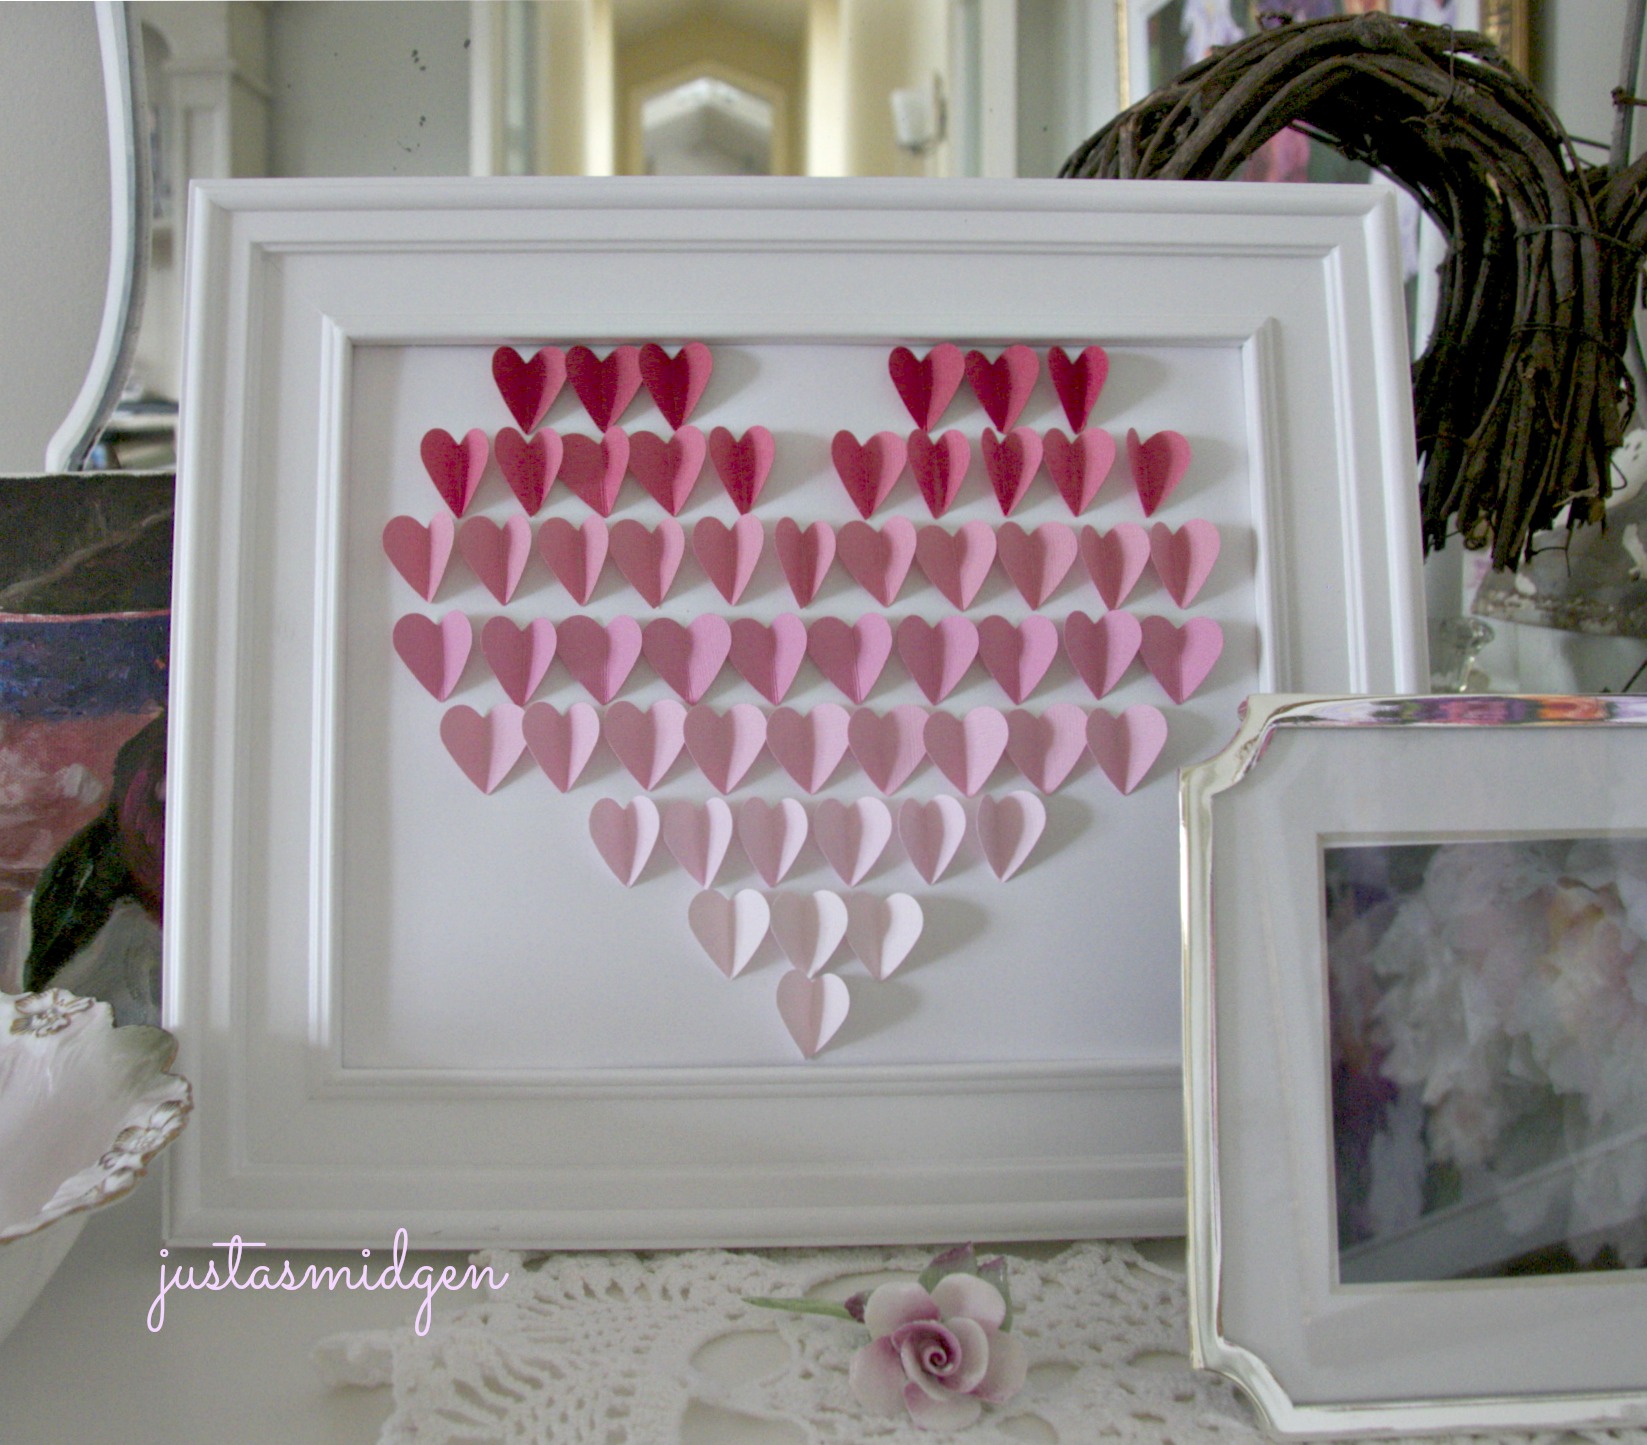
This little craft was so much fun and easy to make..
I found it on Debbie’s “Me and My DIY” blog.
She designed it as a calendar, but I didn’t think I needed to know what day it was.
{ Ok, seriously, it was because I couldn’t figure out
how to print a larger version that included the
calendar at the bottom of my graphic. }
So hearts alone it was going to be.

They do look like little butterflies winging in heart formation, don’t they?
♥
Ombre Valentine Queen of Hearts
Materials
7-8 ombre colored pieces of scrap booking paper
(those with “grooved” lines in them work best)
(mine had little lines indented in them that made it easier to fold)
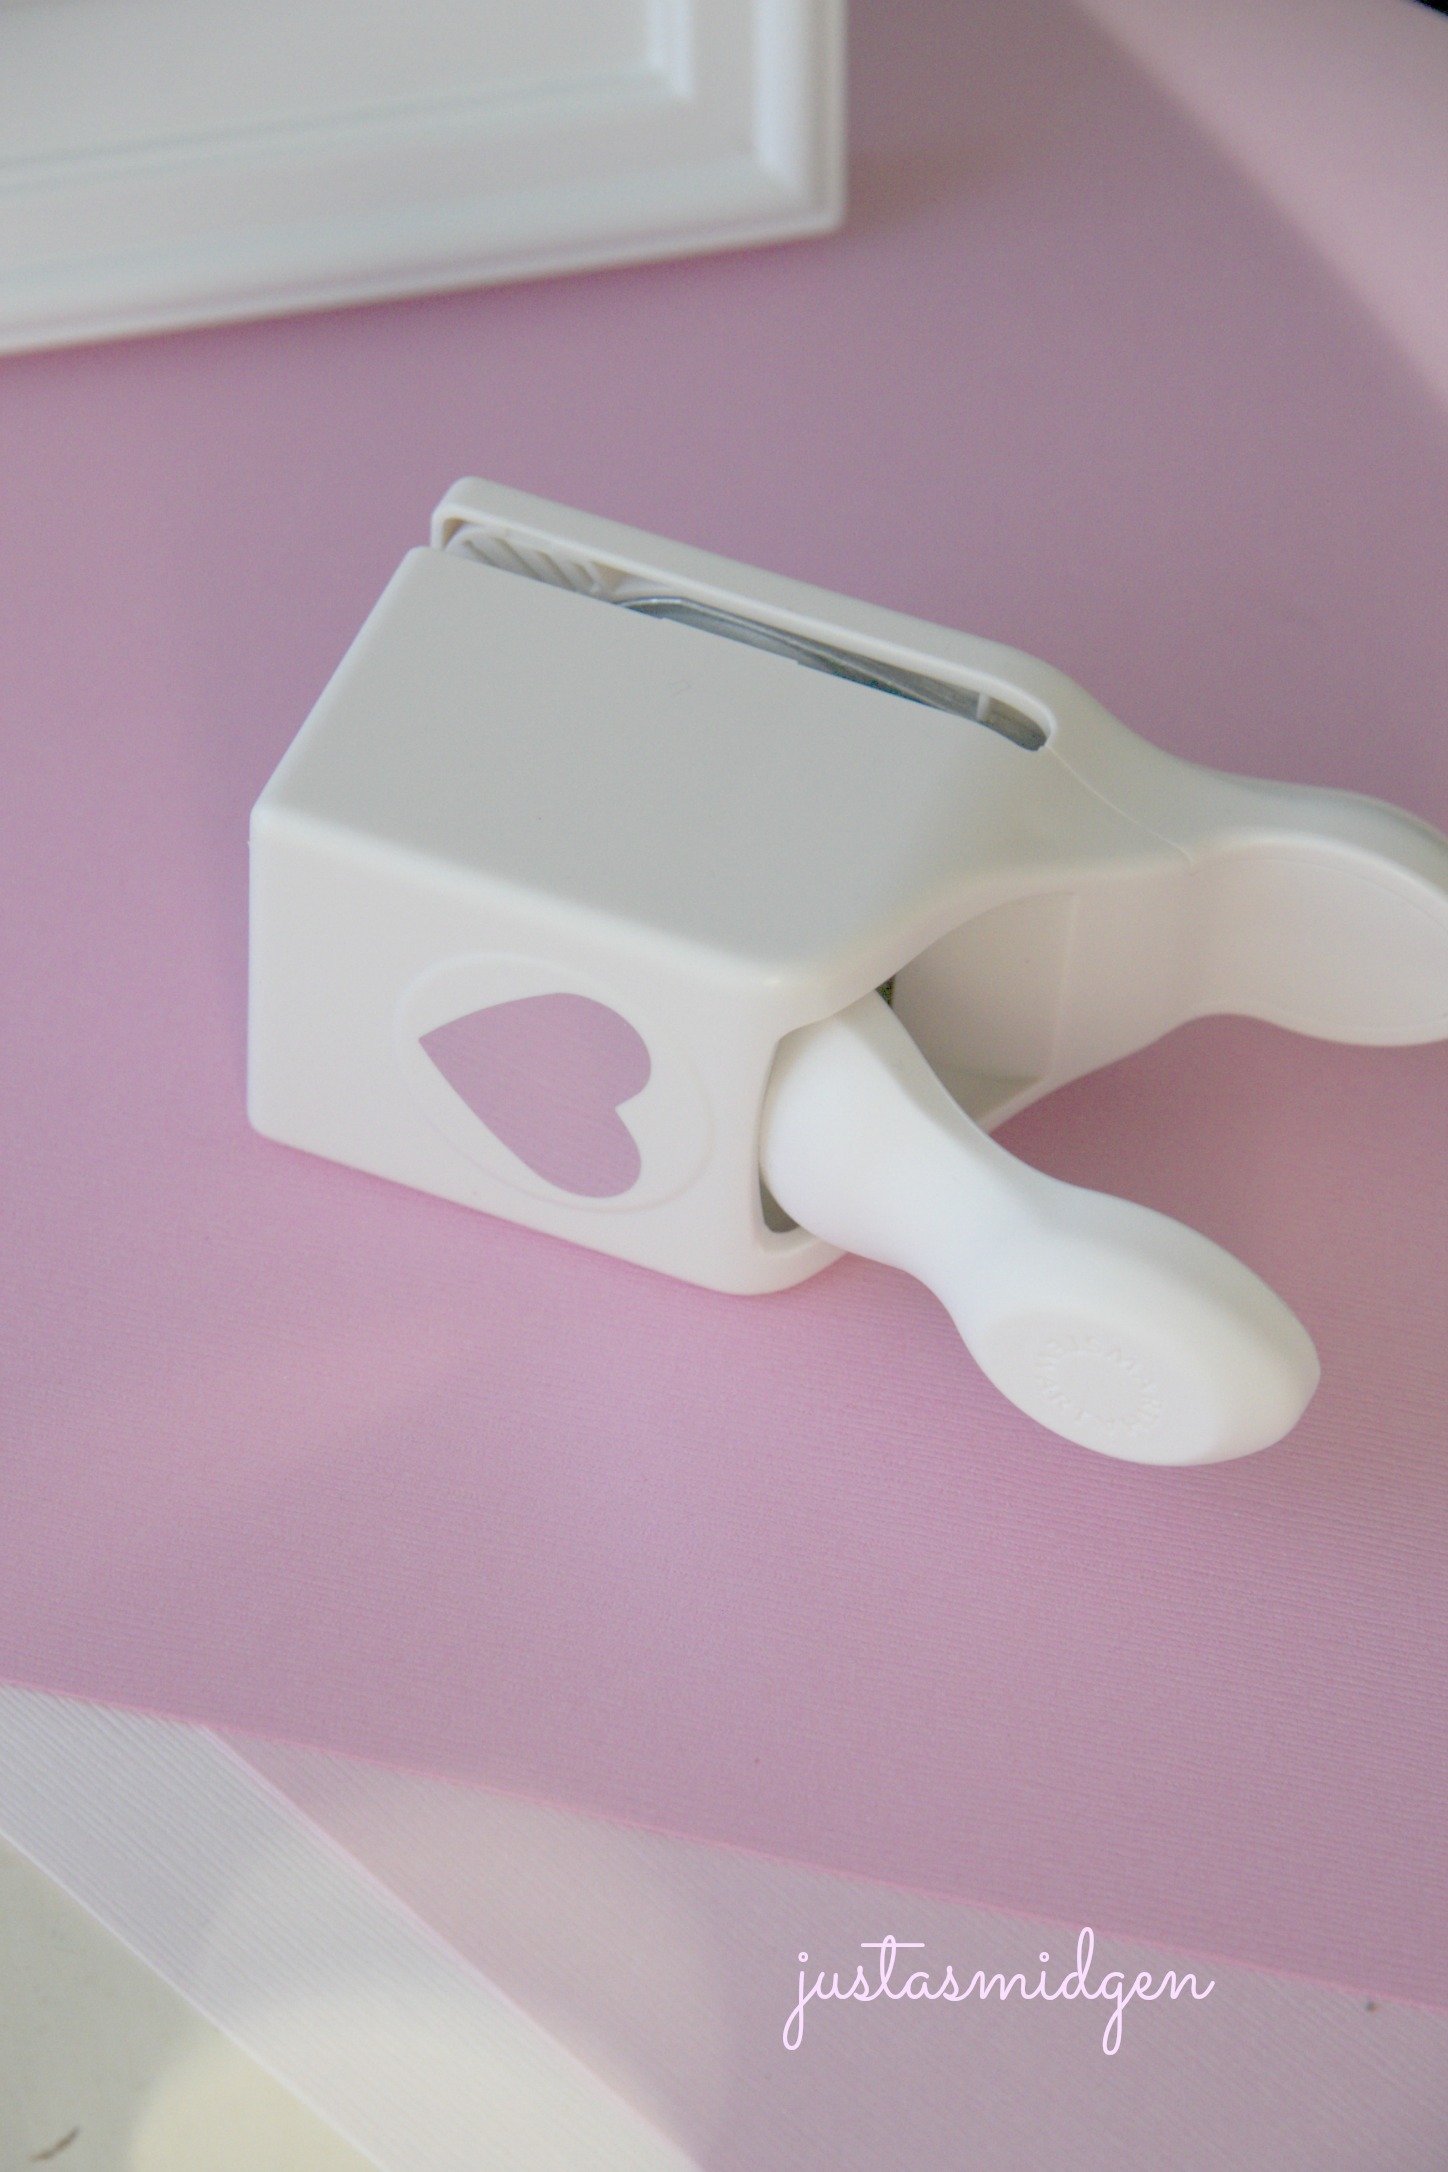
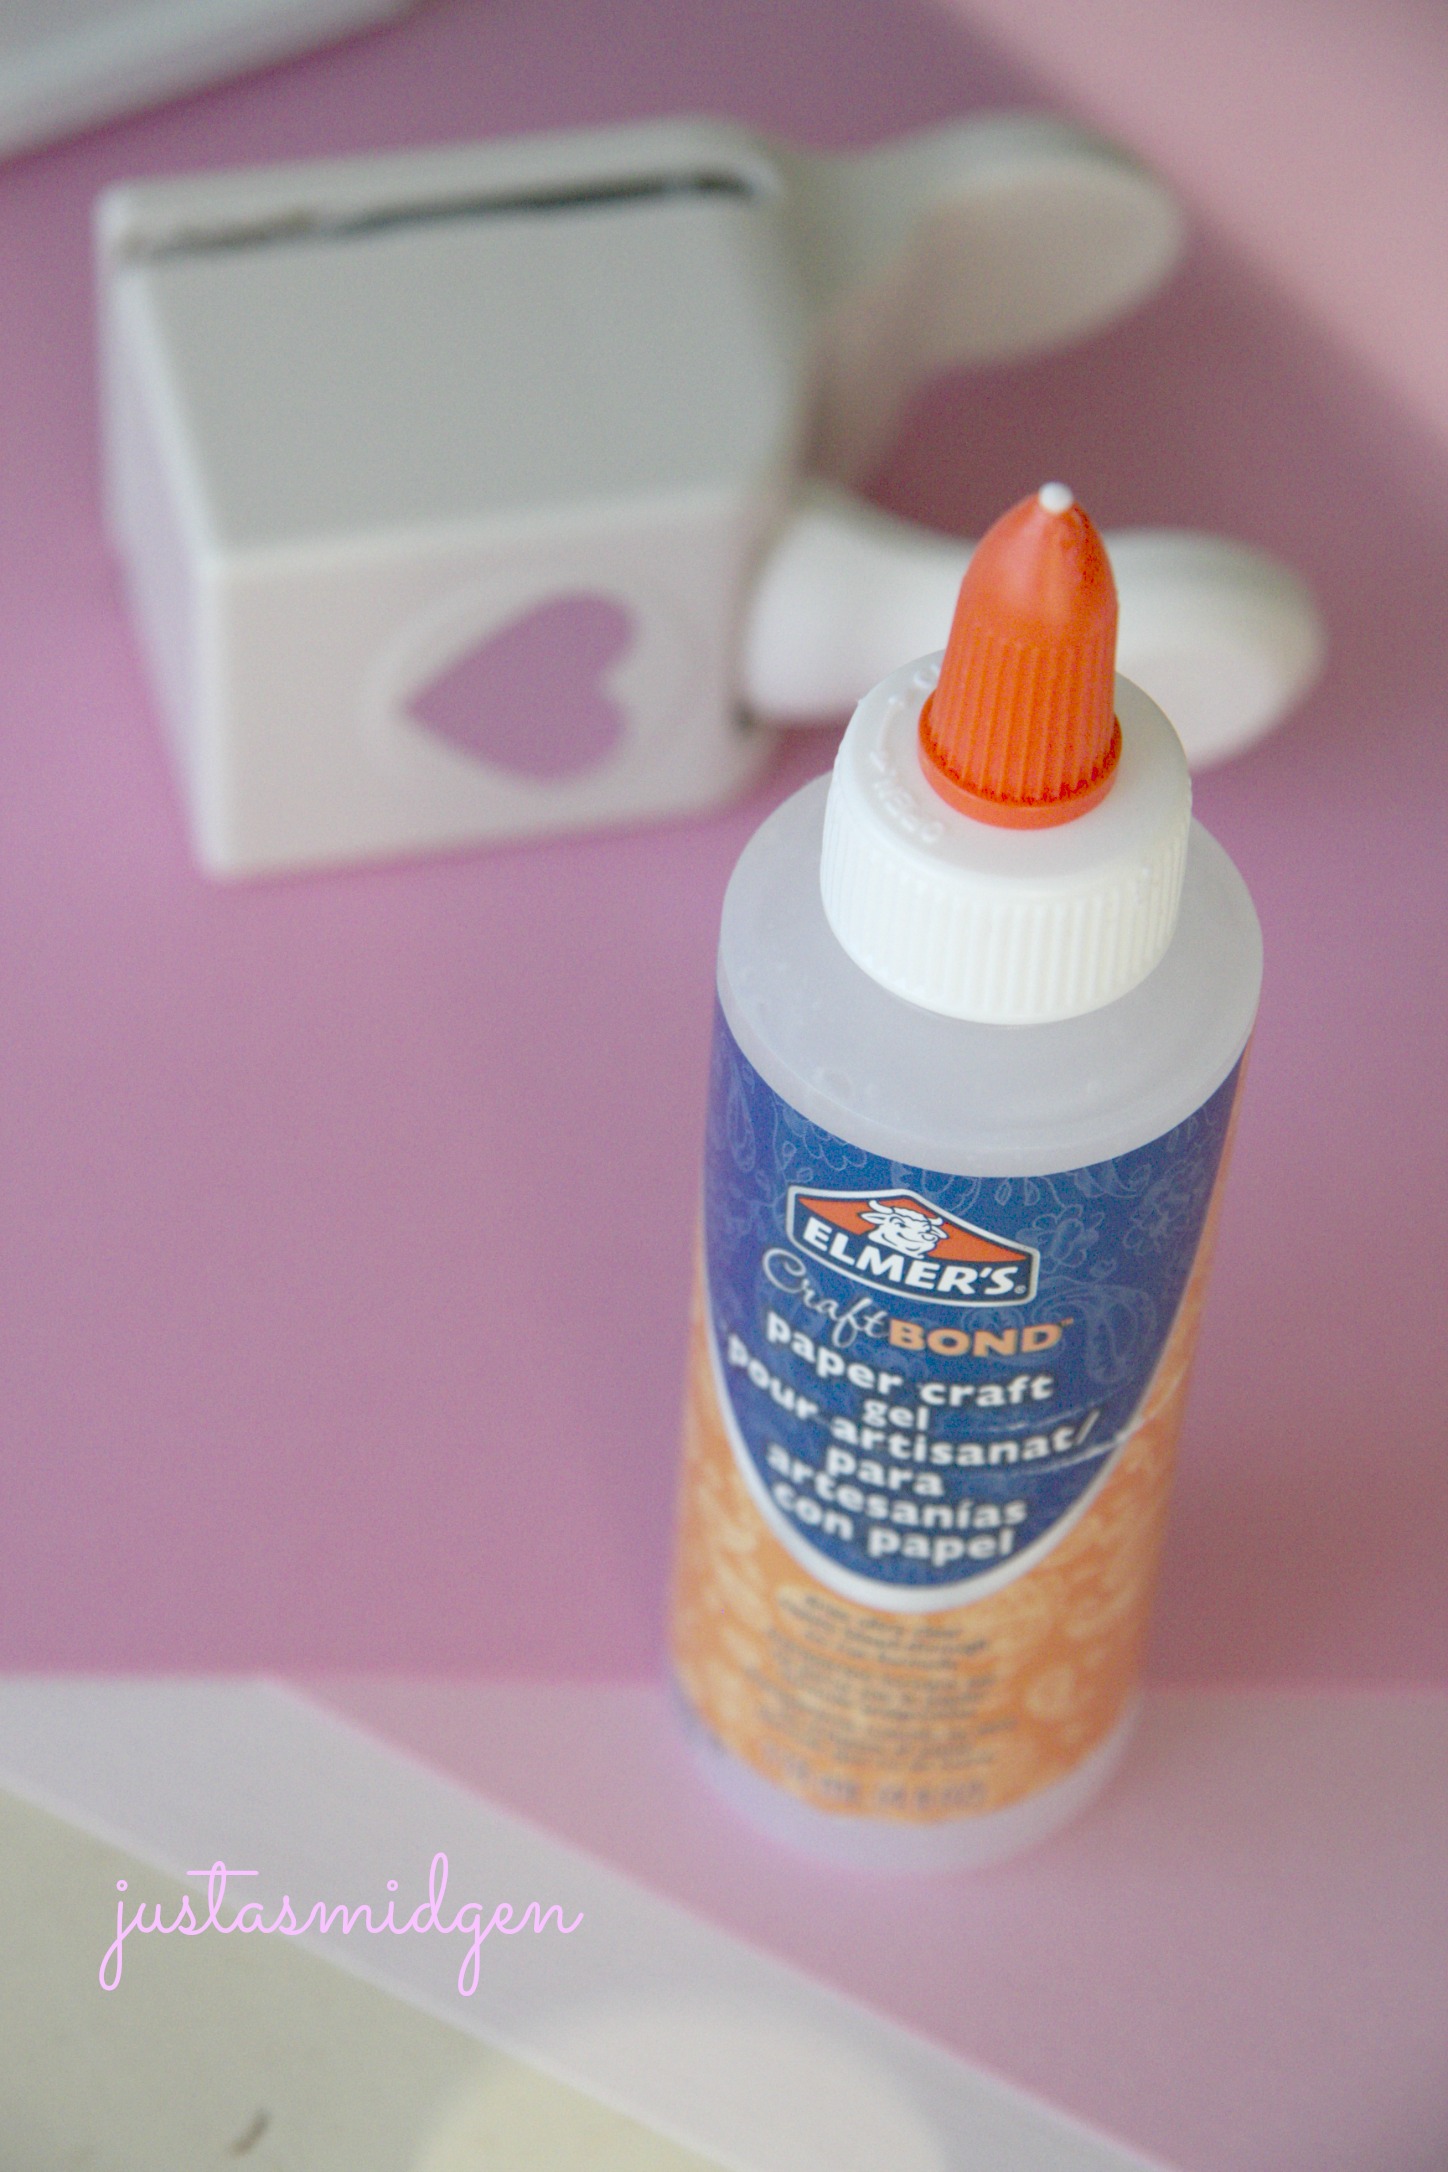
1 Martha Stewart Heart Shaped Press
 1 bottle of Elmer’s Craft Bond Paper Craft Gel
 1 piece of heavier card stock paper that can go through your printer
 1 8×10 frame
1 Background: { PDF File }
 Directions
First of all, open the pdf on your computer. If you think you need to make adjustments, then open your PDF file in Preview (I use a Mac, I believe Windows would have a similar PDF viewer). Then save this PDF file as a JPEG. Open up the JPEG in any photo editing software, I use Picmonkey. It is free and very user friendly.
Make any adjustments you need here in order to print the size you require for the size of your hearts. Hopefully you won’t need to do any of the above because my PDF works just fine for 8.5×11″ standard paper size and the heart press. Alternately, you could cut out one heart of the correct size as a template and trace your hearts. Essentially, you need to have the vertical length of your hearts match the length of the lines on the background.
When you go to print this PDF, you can change the orientation (as I did) to horizontal to get a wider heart. Otherwise, you can print just as it is vertically. I printed on regular paper first to see if everything would work.
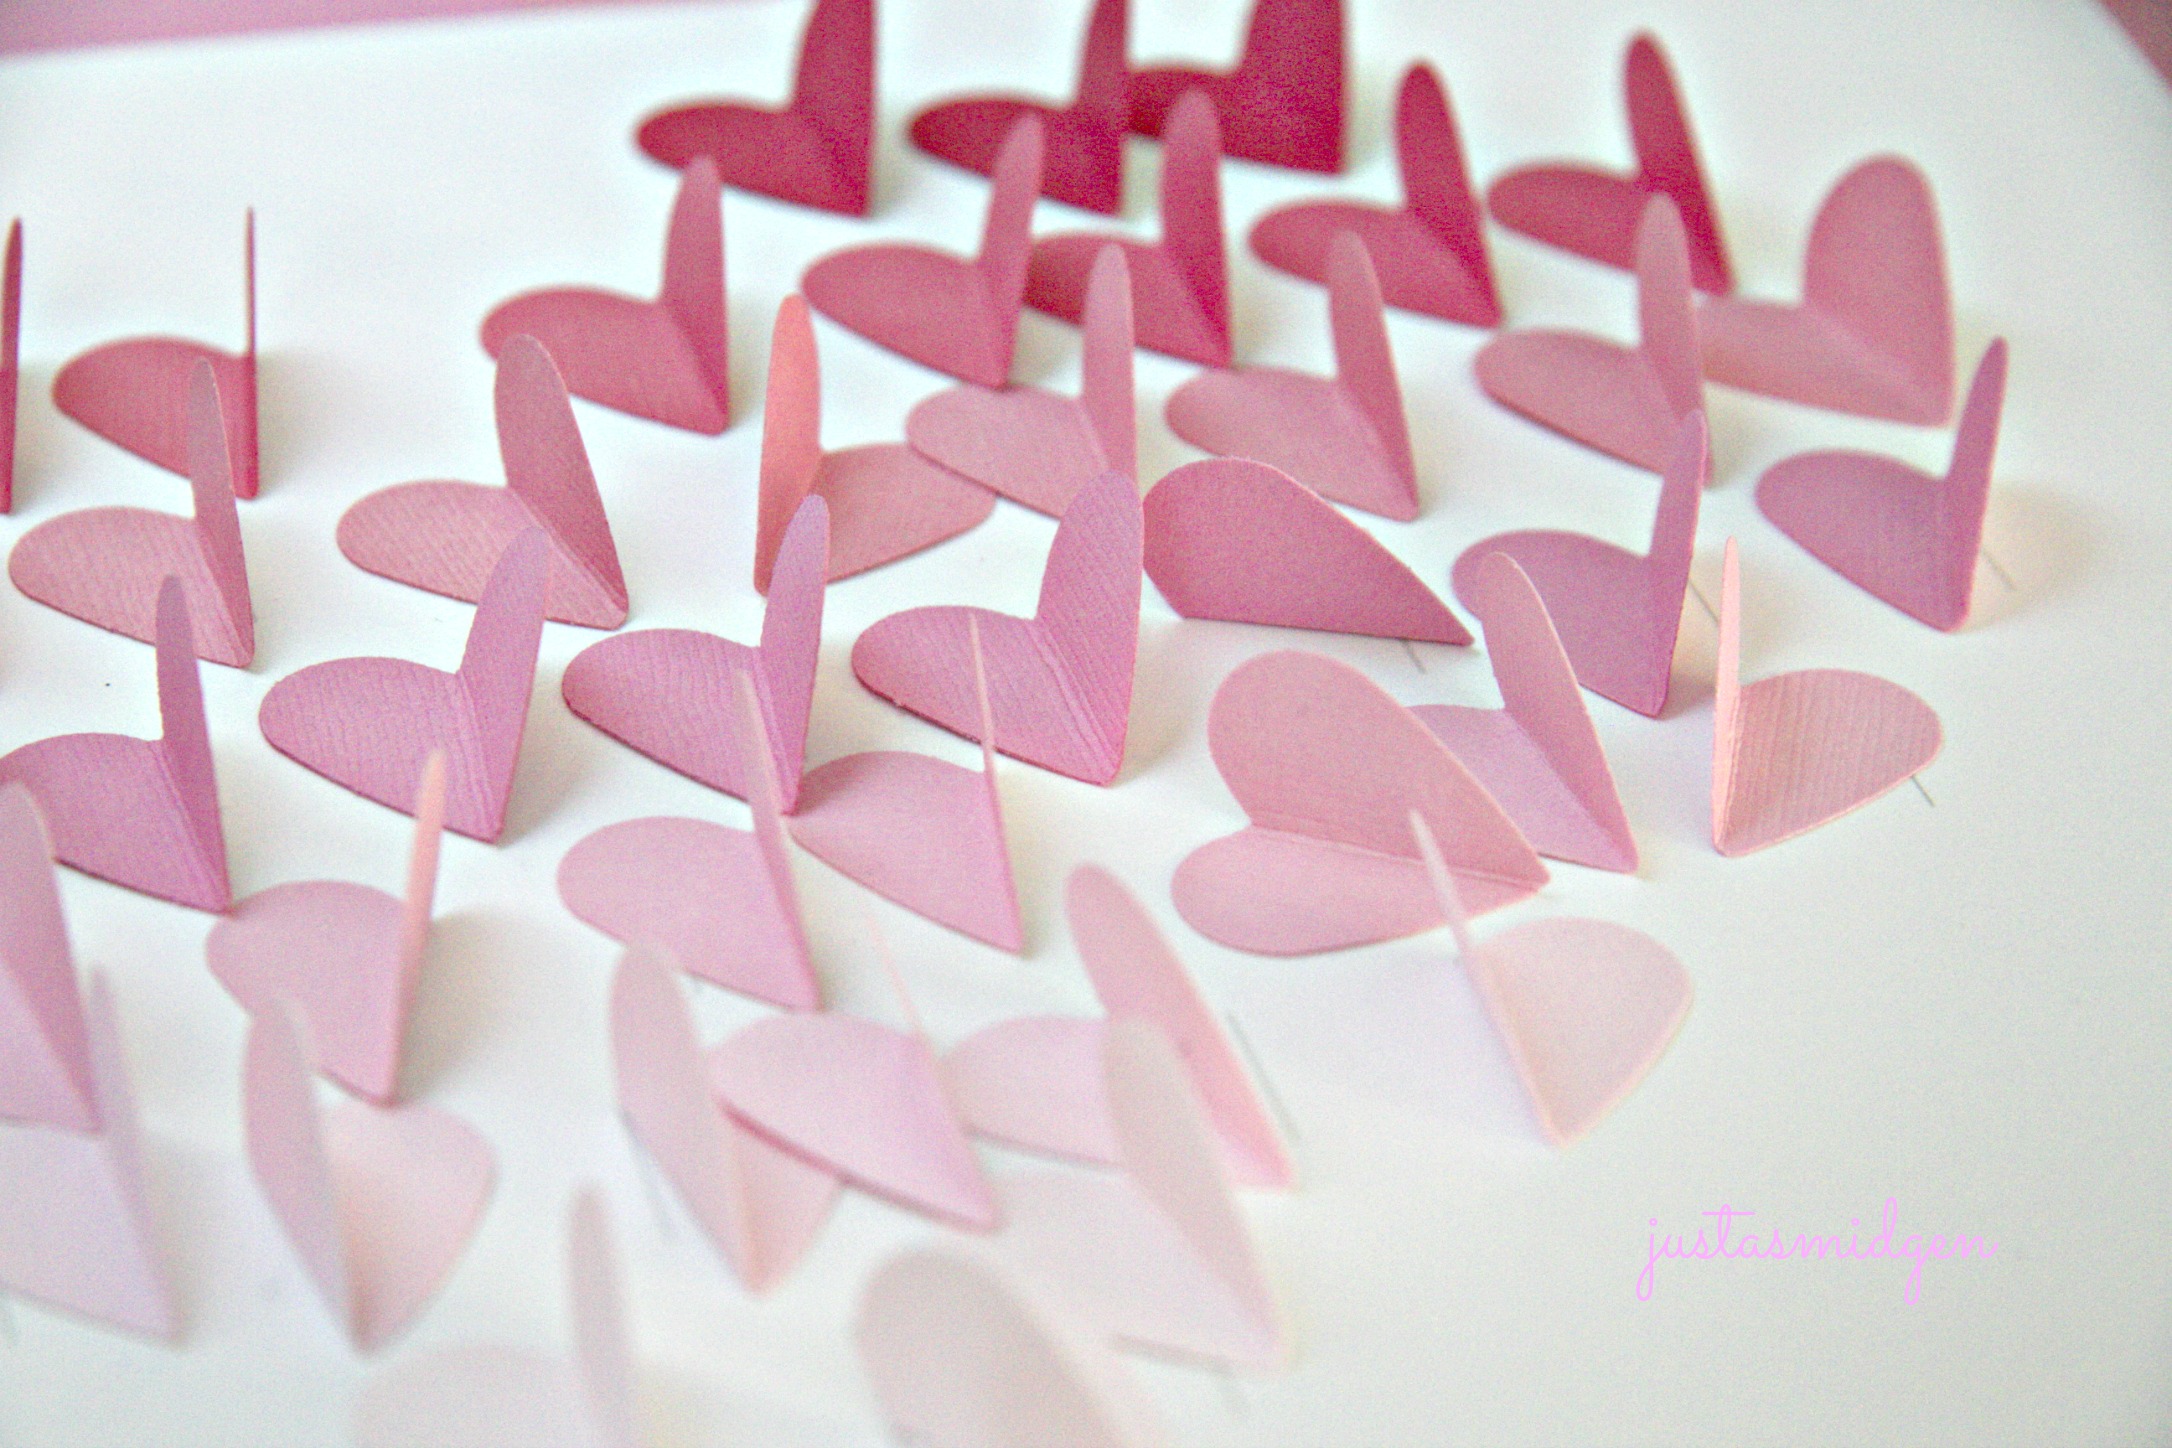
Beginning with the top row, press out 6 hearts from the darkest colored paper. If you have scrap booking paper with lines indented, make sure they’re vertically oriented when you cut them out, this works better for folding. ( I was able to purchase single sheets for each color. ) Then for the next row press out 10 of the next darkest shade. Continue on to match the number of “slashes” in each row. I had to make the bottom two rows identical in color, because I couldn’t find 8 different shades of pink to red, only 7.
Using your finger nails to press in the center line, bend each heart down the middle, using the lines as guides if you have that type of paper. Then pinch the “wings” of the heart and squeeze a line of gel clue down the back of the heart.
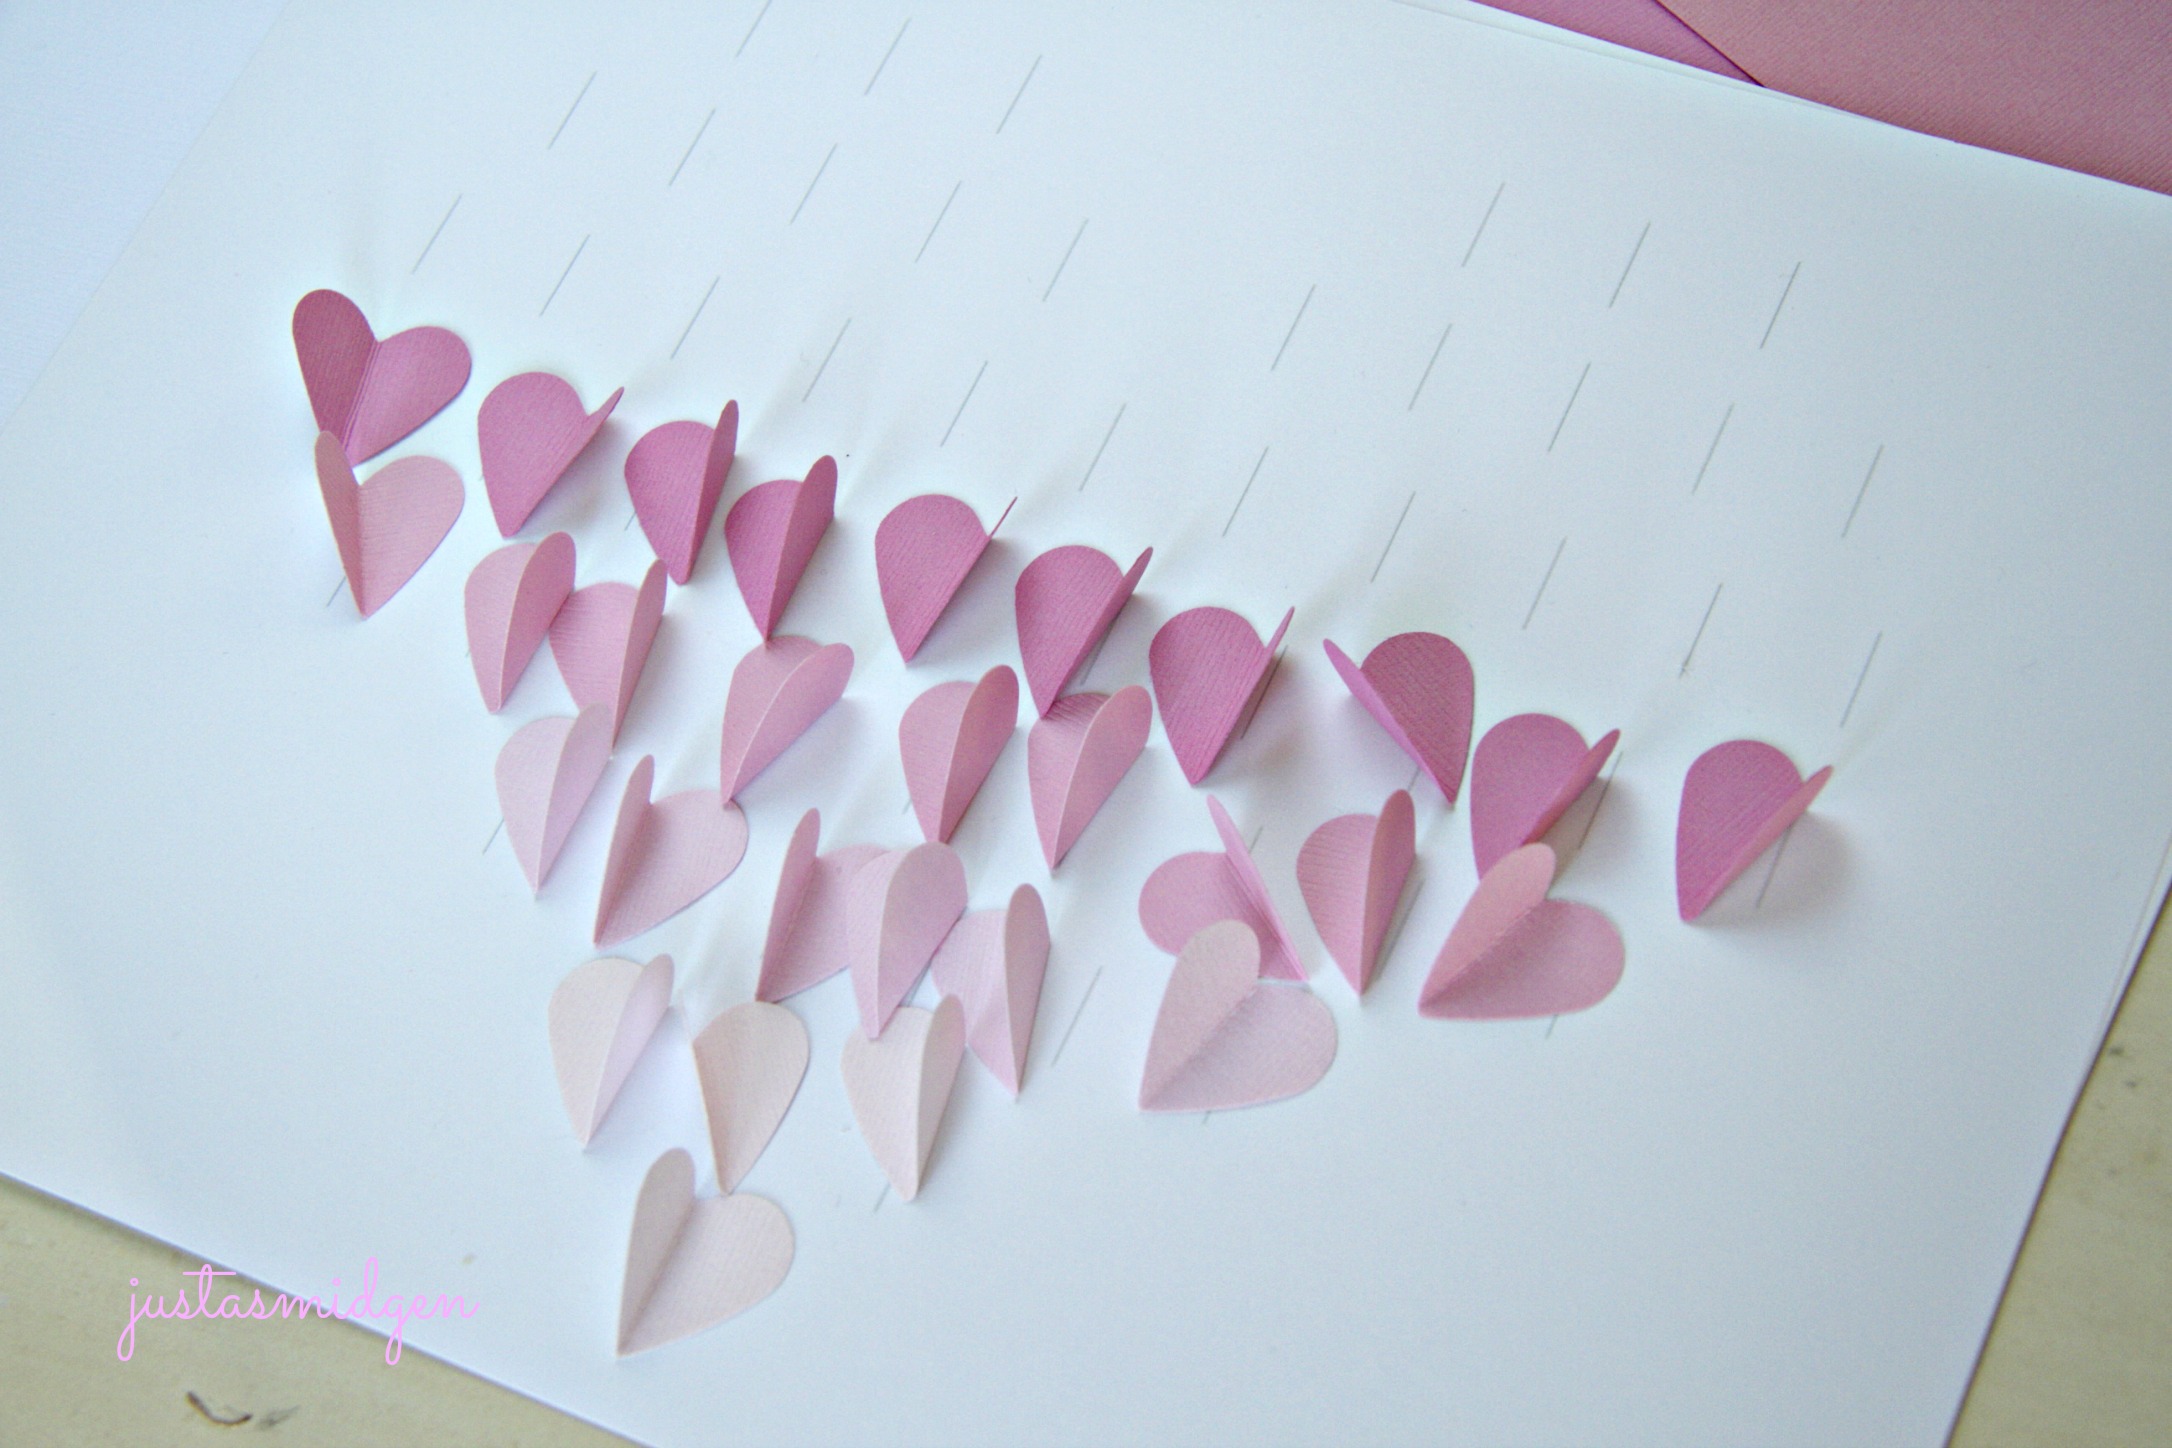
 Press firmly and easily along the line on the grid. *Note: make sure your top line and bottom line fit inside the frame you’ve purchased. You can make the bottom heart and top row lay a bit inside the frame for fit.
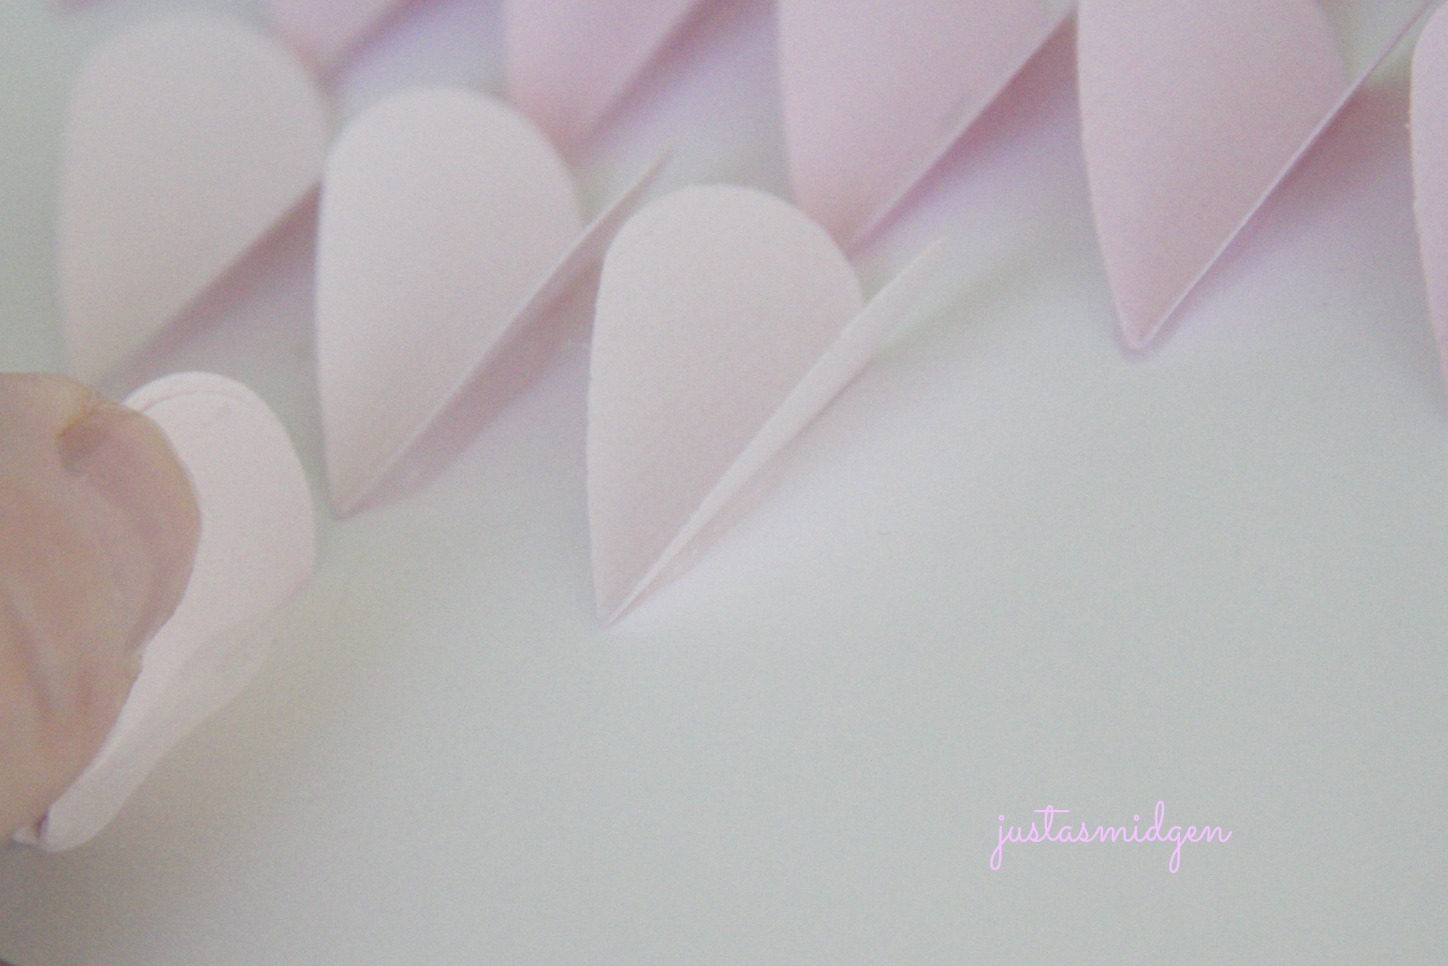 Hold the heart and count to 10. Then let go. After you’ve glued the hearts on, you can go back and pull the “wings” up a bit to keep the glue from pulling them too flat. Once you get going, you’ll find this a very quick project to make… and you’ll start thinking of other things you can make with these little hearts!
Take out the glass from your frame and put your hearts sheet inside. Close the back and enjoy!


The ponytails would love this craft Smidge. I’ll have to get the Martha Stewart heart press. I have a platter that belonged to my grandmother and I treasure it. I try to use it on Mother’s Day every year . . . but having an item of hers where I could see it everyday — like your beautiful silver tea pot — is a great idea. Grandparents are such people in our lives, aren’t they? I still miss my gran too.
I think your girls would create so many cool projects with a little press like that:) Your serving platter sounds so beautiful and special for you, I agree, Grandparents are just the best. xx
So beautiful Barb! I love your new blog heading! Sending you lots of love from IN! <3
Thanks, Sibella! xo
Your new blog heading is pure beauty, in fact I had it open when we started having our coffee this morning and Phil was blown away by it!
I’ve been in one of those extra frantic phases, and my blog commenting is suffering… but I am here! 😉
I’m glad you like it, it’s always fun to change things up:) Don’t worry about commenting, you know you’re always welcome here.. whenever you get round:) I’m late myself! xo
Oh Smidge that looks so pretty! Not only the craft but the entirety of the display! How fitting that those lovely heart-wings would sit nestled beside the treasures from your Gran. (And how wonderful to see it out, where you can love it every day!) Seems that note inside the silver teapot is a Valentine from a Grandma (and friend!) who must have thought the world of you! All of this, so very pretty! xox
I hadn’t thought of it that way, spree, but it is the best Valentine, isn’t it:) xo
How beautiful and touching post, so wished I knew my grandmas. Bet you grandma would be so pleased to see the silvery china teapot, cream and sugar set on display among your heart creation.
I knew one Grandma and one Grandpa quite well.. the other two, I wish I had more time with them. xo
This is just totally precious along with your story!!
Thank you:)
Fabulous! Just too gorgeous for words.
🙂 Mandy xo
Thank you Mandy, Happy Valentine’s Day! xx
I love it!! Such a cute idea! It would be fun for kids too. I’ve never heard of a heart press before. What a great idea!
I think kids would be so much more creative with that little press, don’t you? xx
This is wonderful and so heartfelt, makes me miss my gran very much!
Sending you hugs xoxo
A beautiful project – very lovely! And I loved this post as it reminded me so much of my very own lovely grandmother who I was lucky enough to have in my life until about 4 years ago. She did the very same thing and I have a very beautiful (to me at least) little chinese vase with a note in it from her. Happy memories!
You have longevity in your genes! How lucky you were to keep her near for such a long time! I love that she did the same thing! xx
Very pretty indeed. I’ve got a sneaking suspicion that I would run out of patience early and the little butterfly hearts would be flying all over the room as I chucked everything in the air 😉
Hahaha.. chucking and stomping them before they “flew away” 😀
This really is so cute. I would use it year round! You can never have too many hearts around the house!
You’re right.. I’m off to punch a few more just to scatter on the kitchen counter:)
What a lovely sentiment. Sadly I didn’t know my grandmothers all too well as they lived in Budapest all their lives; only met my Dad’s mum once and my Mum’s mum about 5-6 times. Both died before I became an adult. But my Mom was that person to me, and I miss here every day.
This is a cool craft, I love the colors you’ve chosen. I have several pieces inherited from my family in Hungary and cherish them too. And I have them on display, I can’t seem to be able to tuck them away, no matter how they look with my decor.
You have such a rich history in your family.. places so far away that are your heritage.. It’s a blessing, really, to have an adult who cares for us in this way, friend, grandparent or parent, you are so right, Eva. xoxo
Wonderful story about the teapot, Barb.
Paul
Thanks, Paul:)
Your grandmother sounds like a true sweetheart! I had one of those too. Such a befitting and lovely display. The new heading is so pretty too. Do you know what kind of roses those are?…as stunning variety.
I can almost hear her voice when I see her handwriting. These flowers were in a bouquet from a friend on my birthday.. I’ll have to ask the flower shop the next time I pop in, they would know for sure! xx
It’s really not fair that by the time we’re old enough to realise what treasures our grandparents are, it’s their time to leave us. How lovely to have her note inside that teapot and yes, these beautiful items should not not be stored away but be on display xx
That is so true a sentiment.. I’d love just one more day!
I LOVE your new header and the artwork is fantastic. I am also copying your arrangement over your fireplace. More! More!
Thanks, Susie.. I really love changing my blog. While I love greys and blues, I’m feeling the urge to welcome color into my world.. lots of color everywhere, lol! I’m not sure what’s come over me:) xx
You know, I’m not a Valentine person – but this I just adore – how pretty .. and romantic. Stunning header … too – and the wording so … you!
Valentine for me isn’t the “Hallmark” valentine.. it’s just a quiet remembering loved ones. I’m glad you like the header:)
Barbara, I understand that – and I see that you have a very strong romantic streak that you show all the time.
Barbara, what has happen to your beautiful logo??? You’re not orange. Please, bring it back. *smile
Oh, it is on standby:) I just felt the urge for lots of color lately, bright hues.. I’m not sure why. Maybe the weather, a longing for spring… I’m sure it will come back one day:) xx
Okay…. great news – because I see the old logo so much like you – I don’t see you as orange at all. I see you with ribbons, laces and delicate things.
I love it, what a neat and pretty craft idea! Aren’t we blessed to have had such fantastic grandmas? 🙂
We are indeed!
How wonderful to have not just your Gran’s teapot but the note inside it, as well! I’m sure that tea set is among your most cherished possessions and I’m glad you decided to put them on display. I’m equally sure that they bring a smile to your face whenever they catch your eye. How could they not?
And what can I say about your Heart Project that I haven’t already said? It’s a beautiful piece, Barb, and looks right at home, nestled among your Gran’s tea set.
I can’t believe I left them tucked away for so many years.. and that they made it through so many moves! Thanks, as always for your kind words.. I really had fun making this craft:)
Lovely teapot, lovely memories, lovely craft hearts…and a lovely header, too. You’re so right, we need to take cherished possessions out of their safe places and use them so that we can enjoy them and the memories they evoke. Thanks for sharing yours. 🙂
I think this is the only one I had tucked away.. except for my play tea set. But that may even come out one day. It’s Snow White tea cups:) xx
What a great story – I’m a little choked up reading it! 🙂 And I love how you created this simple, yet elegant piece of artwork! Again, everything is so beautiful!
I get pretty sentimental on these sorts of days.. I’m glad you liked it, Danny:)
Oh, Smidge, how lovely! I think you have made a beautiful display full of love. How perfect for Valentine’s Day. Love is more than just romance!
I think Valentine’s isn’t about romance, really, just love.. lots of love for everyone? xo
What a lovely lovely idea. I agree too, beautiful items should be out on display and not kept hidden away in ‘safe’ places out of site. The heart-work (hehe) is beautiful!
Haha, that took me a minute:) Good one, Claire! xx
What a sweet post Smidge. It really struck a chord with me as I too had a very special relationship with my grandmother. We always cooked together and I admired her china and kitchen antiques from a very young age. When she passed, she gave me her gorgeous hutch filled with everything! I now use these collectibles in my posts as props. It’s my little way of saying hello 🙂 xx
Oh, now that is just the sweetest story.. I’d love to see that hutch filled with memories of your Grandmother. I’m sure she is so pleased with your photos and your blog! xx
I have a feeling that there is no other indoor space as peaceful and beautiful as your home Smidge. You have such a magic touch. I love what your Gran did with the notes. That is so special and sweet. What a great way to keep her memory alive.
That’s so kind of you to say, Kristy. I do get a lot of pleasure “decorating” and moving smaller things about. Sometimes I worry that I’m becoming “knick-knacky” (shudder) xx
Loved this post . . . beautiful story about your grandmother, and that teapot is so lovely (and unusual). Thanks for the butterfly hearts craft too :).
You’re so welcome!
What a wonderful idea for your grandma to do….Diane
She was a sweetie:) xx
Can I just tell you how much I absolutely LOVE this idea! I love it. It’s so cute, sweet, and it definitely adds to any decor. And you can use any color you want.. if you don’t wan to do the standard pink. I LOVE this.
Now it would be so pretty in other colors.. like blue for a baby boy! xx
That is such a sweet story and a beautiful craft too!
xoxo
I was so close to my Mom’s mother and I remain to this day very close to my father’s Mother who is going to be 95 this May. These women did much to teach me and guide my soul. What a beautiful post Barbara and thanks for sharing it
Dear Heavens! I want to go fill all the cups and pots with little messages. Even for us to find each time we use them. What a sweet legacy. We still have cups and plates with medical tape on the bottom and a loved ones’ slanted hand saying the name who it was for. Very special, and surprising how long the tape and ink has lasted. Love those fluttering hearts too.
What a very sweet post! I love the part about your Gran putting notes in her keepsake items as to who they go to. What a great idea! I’m sure you will cherish all of the items that had your name in them forever! Love your Queen of Hearts!
Awww these look really sweet and pretty! Will definitely make it when I make some cards for my friends, thank you Barbara! Happy Valentine’s Day!
This is a really touching post, Barbara! I love the hearts, too, they’ve turned out beautifully just as they are without the calendar 🙂
What a precious note. I wish my grandmother’s had done that xox
Lovely story Barb. It captured my heart very much. The little hearts are so cute!! Everything is exquisite, like you {{Hugs}} 🙂
A little note that you will forever treasure. You have so much patience to complete projects as I think after step one not being able to get the PDF formatting correct I would have given up. Happy Valentines Day to you! BAM
Lovely. I wish I had known my grand-mothers the way you have known yours. — And now, A NOTE: A while back, I received the Very Inspiring Blogger Award. While I acknowledged the award, I failed to notify the bloggers I selected to be the next recipients. Please accept my apology and the overdue award. You can find acceptance rules (if you choose to participate) at the bottom of the February 16 special edition of my Weekend Highlights (at Granny’s Parlour), which will feature the 15 award recipients I have selected. Thank you for being part of this blogosphere!
[…] My Queen of Hearts, Just a Smidgen shares sweet memories of her Gram, the woman she calls “the ultimate […]
Beautiful post… Beautiful lady!
I agree that it’s so important not to hide our beautiful treasures away. They are meant to be enjoyed, used and cherished in full view. Your Gran sounds like a wonderful, wonderful woman and your heart craft is a lovely tribute to her.
Hi Barb, I’m a first time visitor to your blog, and I have to say it’s just beautiful. Thanks so much for your link to my February calendar. I love the way you used just the heart in the frame. What a wonderful idea! I also love the display over your mantle, and what a sweet post. I really appreciate it, being so close to my own grandmother. I still have her with me, she’s a spry 92 year old and although she lives 12 hours away, we keep up regularly with Skype, email, texting and nearly daily phone calls. She’s a one of a kind and I don’t like to think of the day when she won’t be around anymore. I really love the way you’ve remembered her here.
Debbie
[…] makes solid and cut-out butterflies, so that added lots of possibilities. { You might remember my Valentine Heart cutter from this craft. […]
[…] Ombre Valentine Heart craft would make a pretty gift for someone […]
[…] P I N this to pinterestMy Queen of Hearts […]