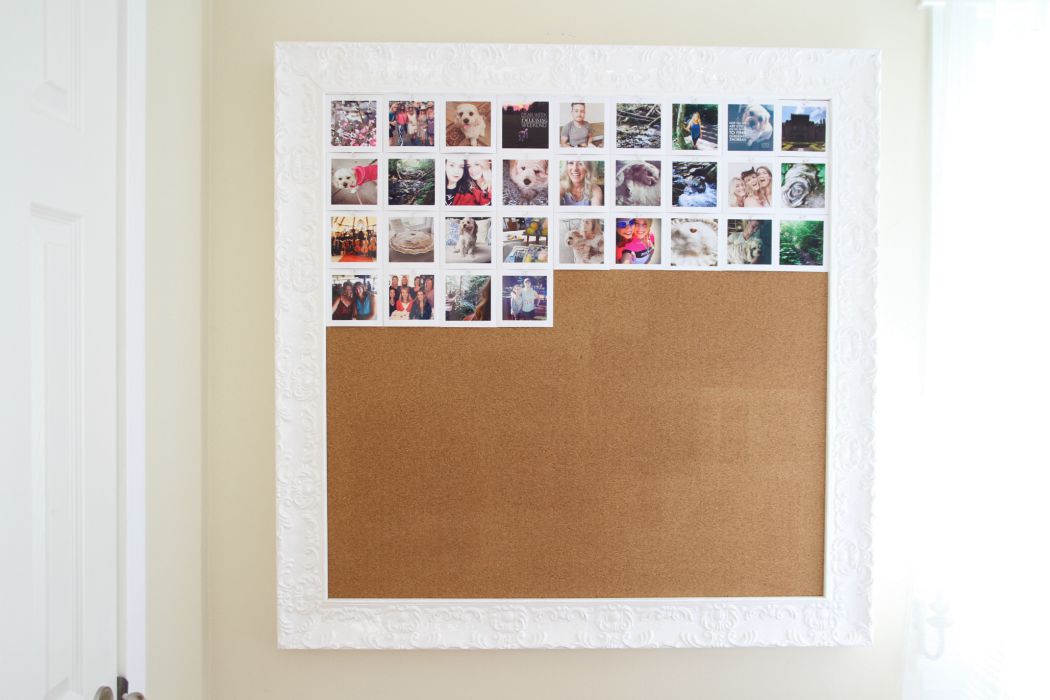
Easy Instagram Memory Board

Author: Barbara Bamber
Ingredients
- Bulletin Board
- 4x6 Photo Paper
- Printer
- Scissors or Cutting Board
Instructions
- Open up the website collect.to and sign in with your Instagram Account.
- Navigate to your home page by clicking on your name on the right hand side of the collect.to page. This is where you will see all of your Instagram photos.
- Right click “Open Link in New Tab”.
- Open up that tab, then right click the large image and “Save Image As”. Make sure to save it to a new folder you make called “Instagram Project”. *
- Open up your favourite photo editing software, I use www.picmonky.com. From the top icon menus select “Design” and 4x6.
- Click on the left hand side Butterfly icon. Then select “Your Own” from the top. Choose the photo you’ve just saved in the “Instagram Project” folder.
- Click to move then drag your photo to fill the top portion of the 4x6 space, leaving equal space on top and sides of the page.
- Save to your “Instagram Project” with a new name.
- Open Finder on your Mac and open your “Instagram Project” folder and double click on the 4x6 photo you’ve just saved.
- Then go to the top and select “File” then “Print”. Make sure to select photo on photo paper and 4x6 (do NOT select “borderless” this will change your spacing)
- Using scissors or a cutting board, cut the photo so that it is a complete square.
- Pin on your bulletin board with clear pins or colourful pins as you wish.
Recipe by Just a Smidgen at https://justasmidgen.com/2015/08/20/easy-instagram-memory-board/